
The Middle Ground Between Living With Damage and Full Refinishing
Furniture with surface damage — scratches, dents, white heat rings, faded finish patches — presents a frustrating decision: live with the damage or undertake the significant time and cost of full furniture refinishing. Most homeowners don’t know that there’s a substantial middle ground of spot repairs that can address specific damage without disturbing the rest of the finish.
Professional furniture touch-up is an entire trade specialty (refinishers who work on antiques and collectibles use these techniques routinely), and many of the same methods are accessible to homeowners with inexpensive products and some patience.
Wood Scratch Repair: Matched to Scratch Depth
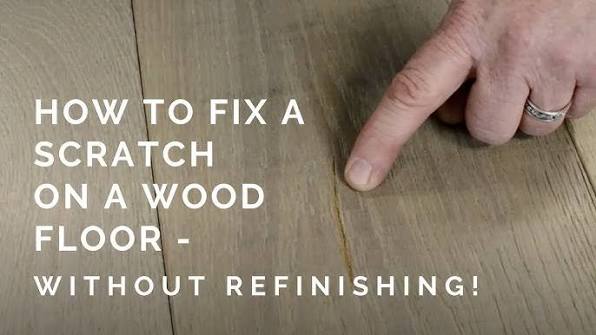
Scratches fall into two categories: surface scratches that affect only the clear finish coat (the scratch looks white or bright because it’s refracting light), and deeper scratches that penetrate through the finish into the wood below (the scratch shows the raw wood color or the raw wood fiber). These need different treatments.
Surface finish scratches: a furniture polish with fine abrasive (Old English, Minwax Furniture Polish, or a dedicated scratch-cover product in the finish color) rubbed along the scratch direction with a soft cloth fills the scratch with wax or oil that restores the refractive properties. This works for fine scratches on most oil and wax finishes and moderately on polyurethane. Deeper scratches into wood: a wood touch-up marker or crayon in the matching wood tone fills the visual void of the exposed raw wood. These markers are available in a wide range of wood tones at furniture stores and home improvement stores; layering two shades to match wood grain variation produces more realistic results than a single color.
White Heat Rings: The Most Requested Repair
White rings or marks on wood furniture caused by heat (a hot cup placed directly on a finished surface) are one of the most common furniture damage calls. The white appearance is caused by moisture trapped in the finish layer — the heat drives moisture into the polyurethane or lacquer where it creates cloudiness. The moisture didn’t reach the wood, which is why these repairs often work without refinishing.
The iron method: place a clean, dry cloth over the ring and press a warm (not hot) iron briefly — 5 to 10 seconds — over the affected area. The heat re-drives the trapped moisture out of the finish. Check after each application; repeat until the ring fades. This works reliably on polyurethane finishes. For lacquer finishes, a small amount of petroleum jelly (Vaseline) rubbed into the ring and left overnight, then buffed off, often draws the moisture out through the finish.
Dent Repair Without Sanding
Wood dents (compressed wood fibers rather than material removal) can often be raised without sanding and refinishing using steam. A damp cloth placed over the dent and a hot iron pressed briefly against the cloth generates steam that penetrates the wood fibers and causes them to swell back toward their original position. This works best on unfinished wood or wood with a thin finish; thick polyurethane finishes impede steam penetration.
For finished furniture, a small pin punch to create micro-perforations through the finish before applying steam can improve penetration. This sounds destructive but the tiny holes are invisible in the finished grain and allow steam to reach the compressed wood fibers. Multiple applications over several days produce progressive improvement rather than full restoration in a single session.
Veneer Repair: Bubbles, Lifting, and Small Losses
Veneer furniture — pieces with a thin decorative wood layer over a core substrate — is susceptible to lifting and bubbling when the adhesive beneath fails, typically from moisture exposure or heat. A bubble in a veneer surface looks bad but is fully repairable if the veneer itself is intact.
Veneer bubble repair: with a sharp craft knife, make a small slit along the wood grain direction at the center of the bubble. Inject PVA wood glue (or veneer glue) through the slit using a syringe applicator or a folded paper shim. Press flat with a clamp and a wax-paper-covered caul to prevent the clamp from sticking. Hold for several hours. Sand the repaired area lightly if necessary, then touch up the finish with a matching product. For veneer losses (where a section has broken away), replacement veneer sheets in common wood species are available and can be cut to fit with a craft knife.